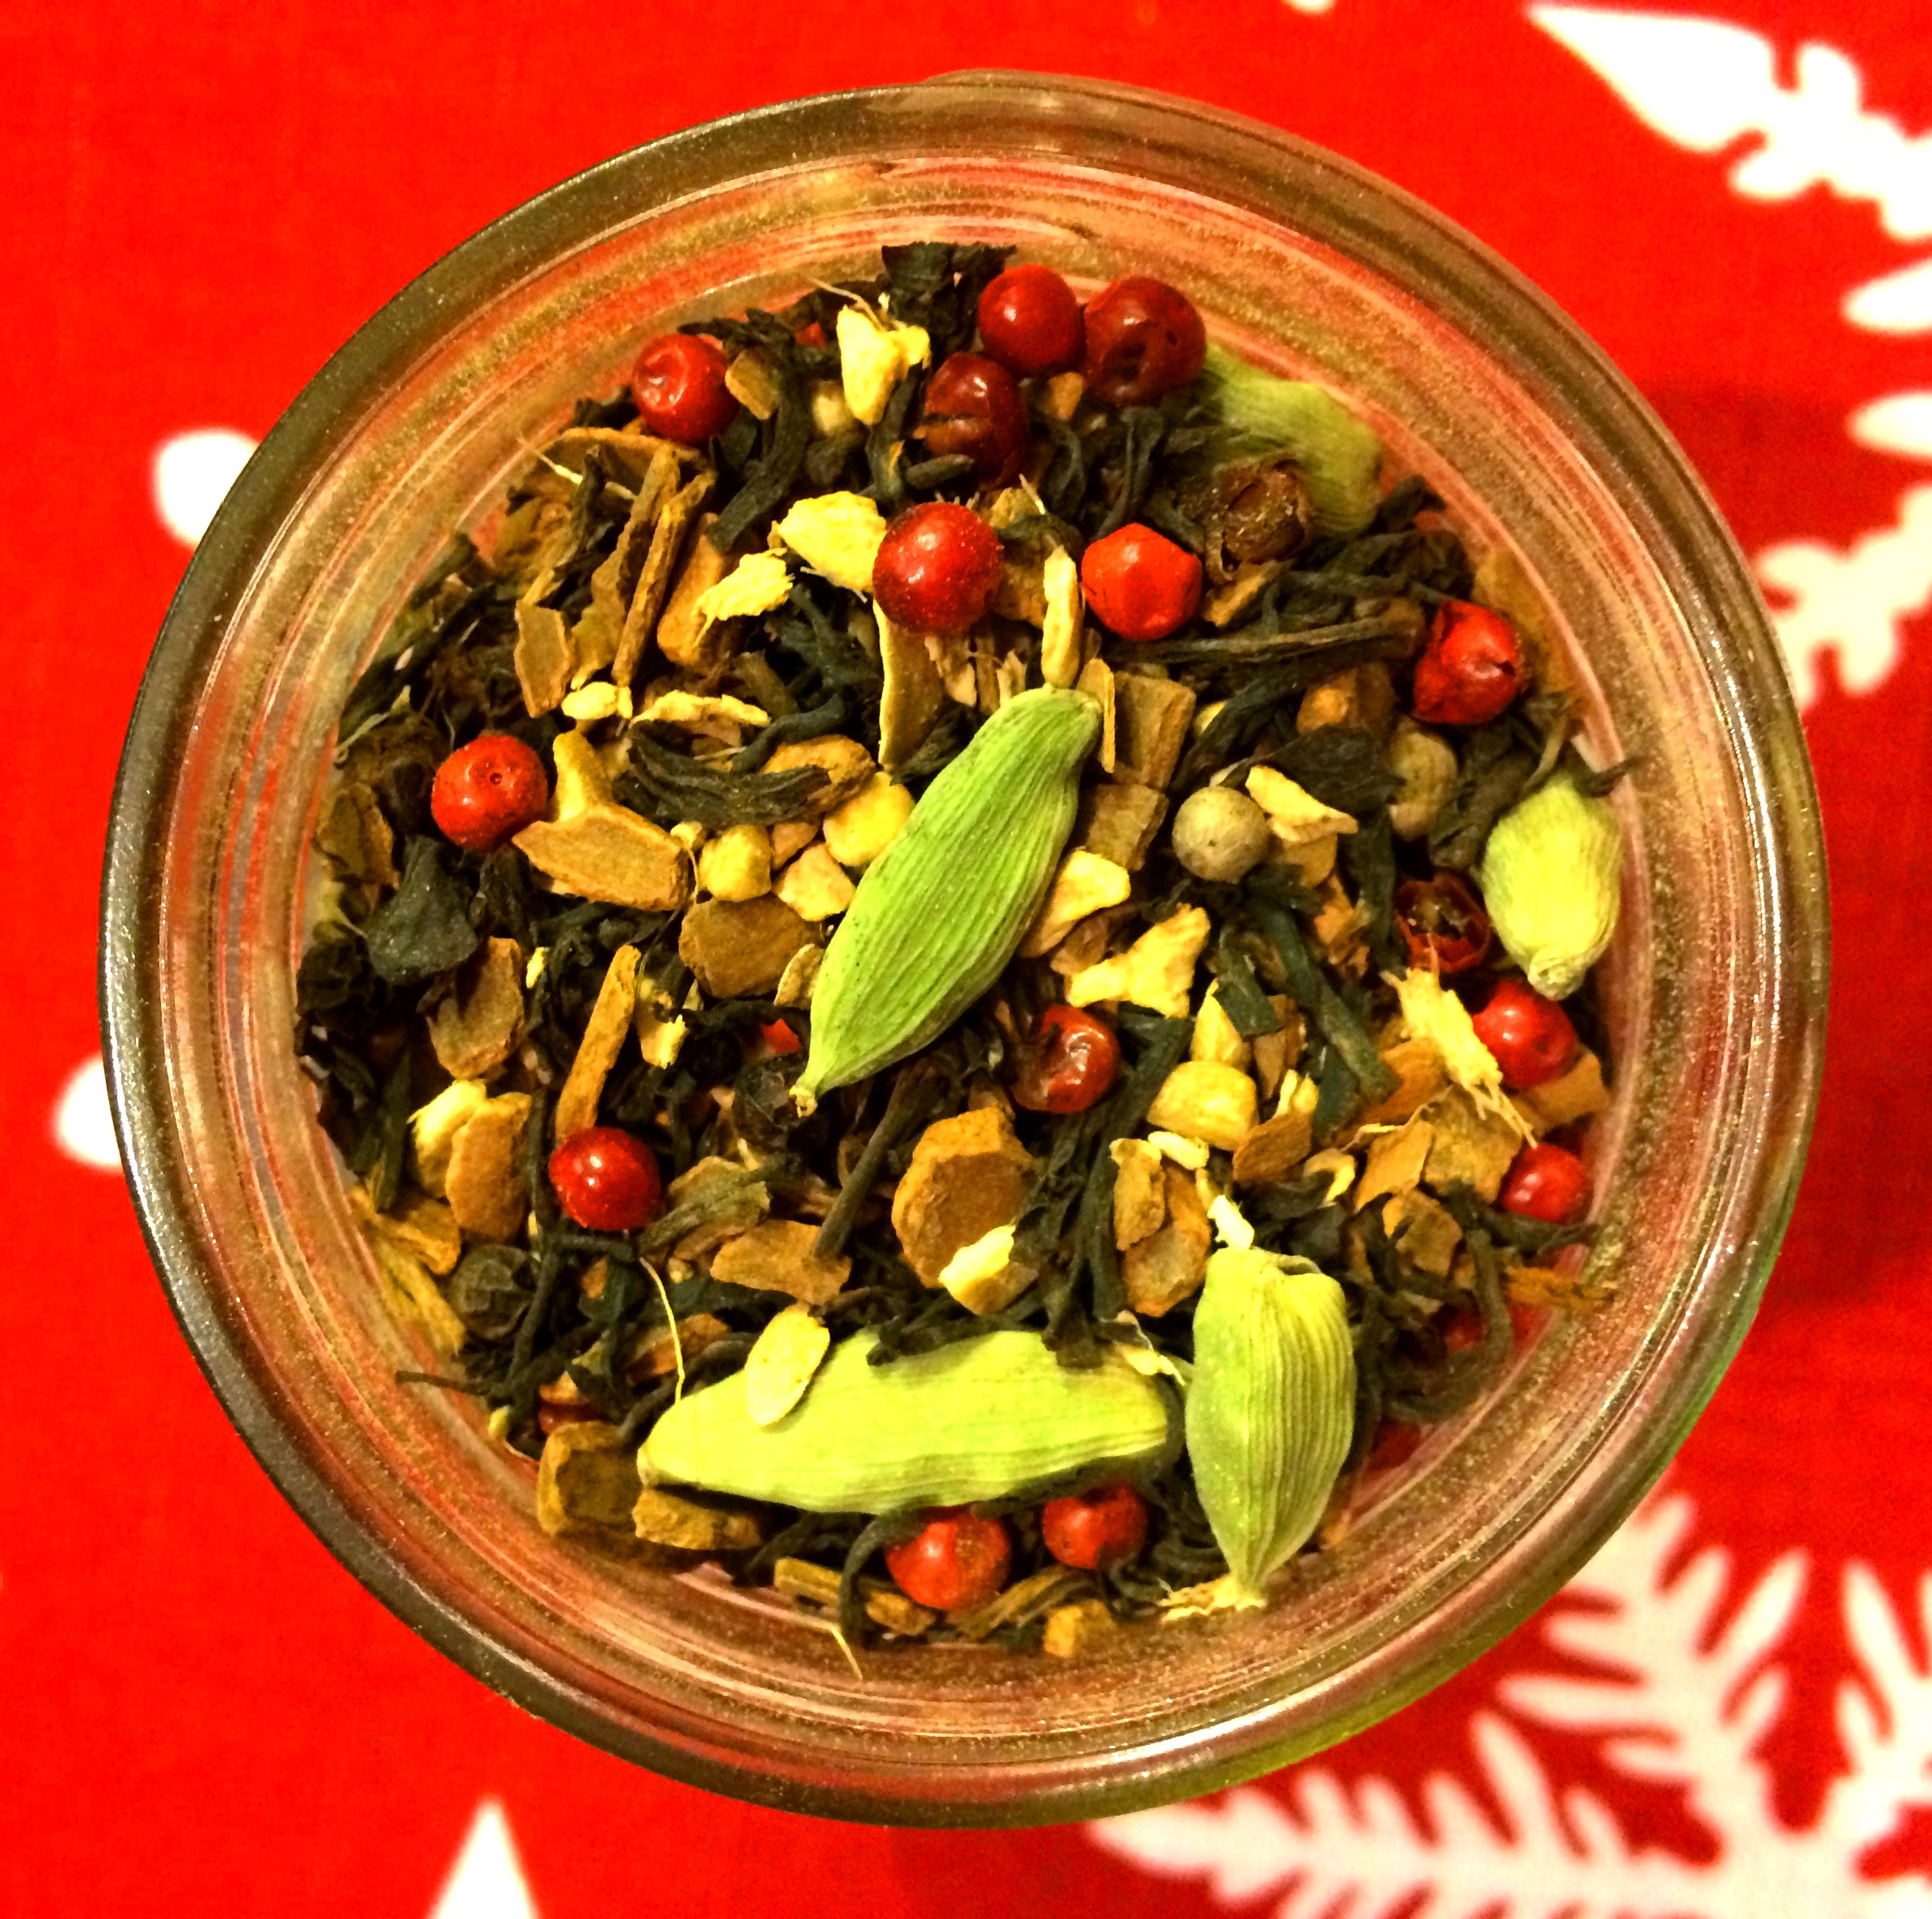
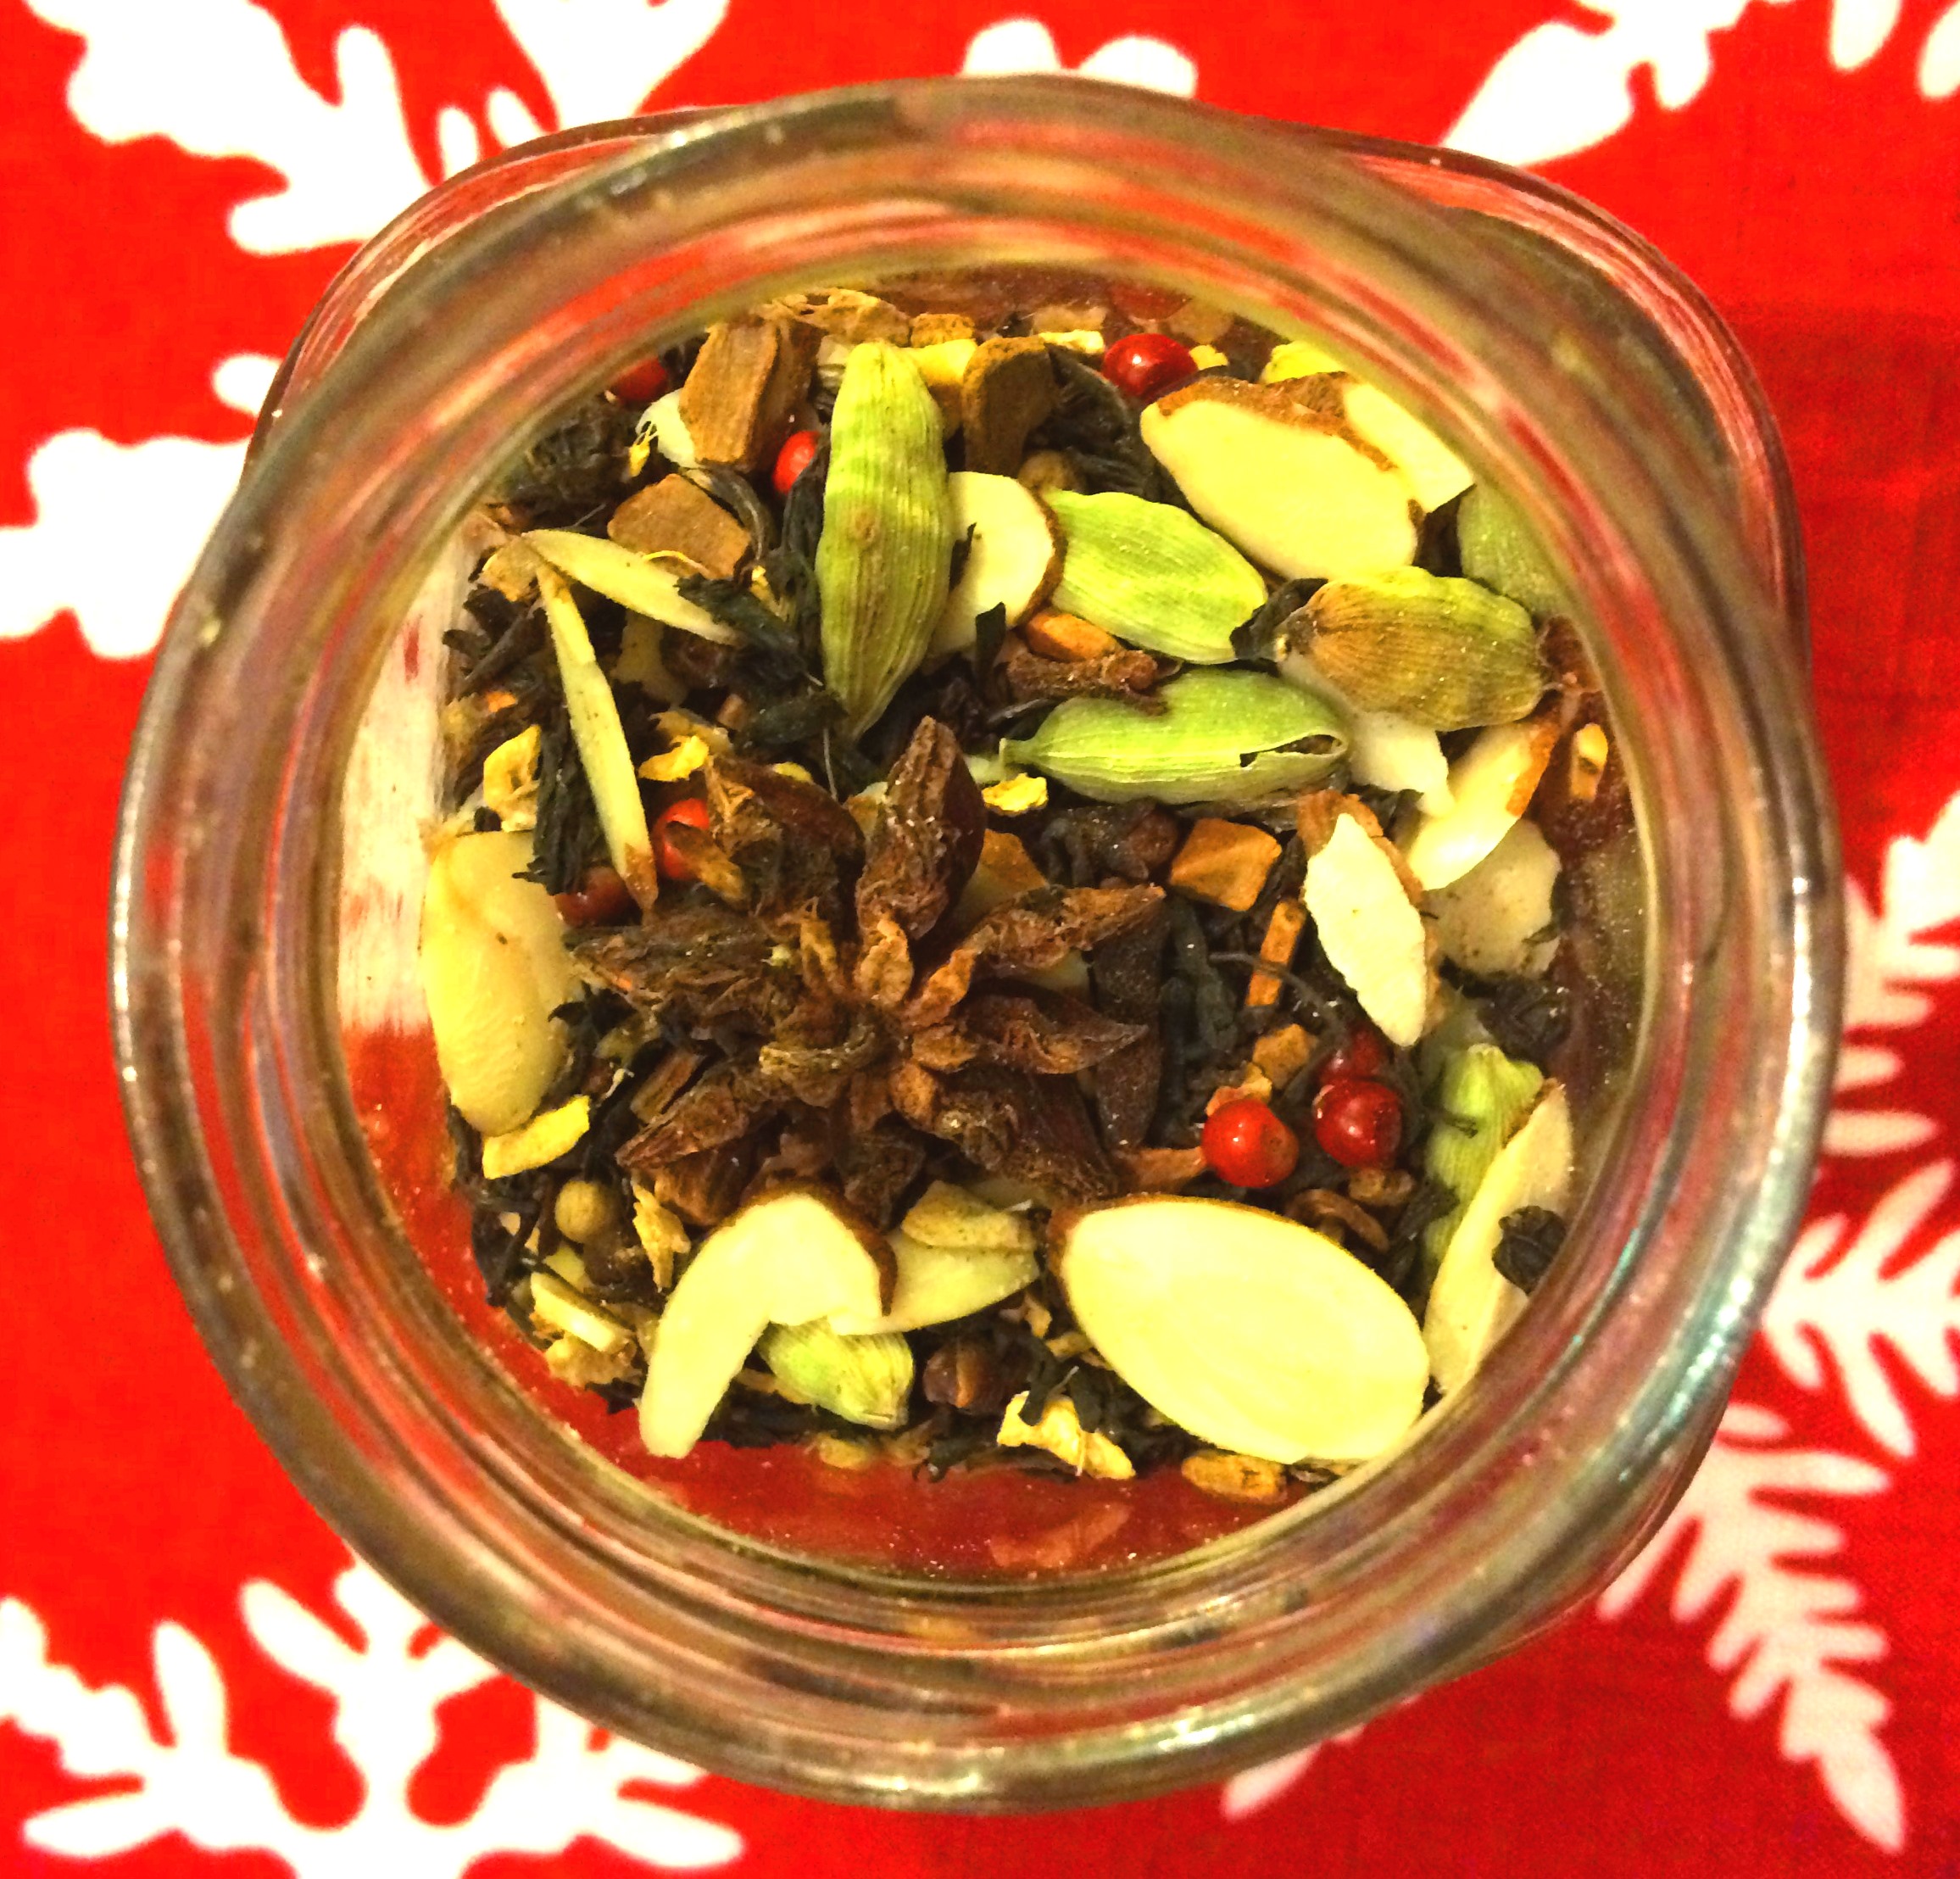
Yesterday I shared my delicious chai tea blend, so today I thought it would only be fair to show another chai recipe that boosts the festive quotient of this rich brew. I added toasted almond slivers to add a creamy richness to the blend which pairs nicely with the grated nutmeg. The star anise adds a bright kick that plays well with the cardamom. Be careful with the nutmeg: like cloves, it can easily overtake the other flavors so I wouldn't add more than what's given below.
Ingredients:
1 cup Assam black tea
1/2 to 1 cup cinnamon chips
1/4 to 1/3 cup toasted almond slivers
1/4 to 1/3 cup pink peppercorns
1/4 cup star anise
1/4 cup dried ginger
1/4 cup cardamom
1/8 cup clove buds
1-2 teaspoons freshly grated nutmeg
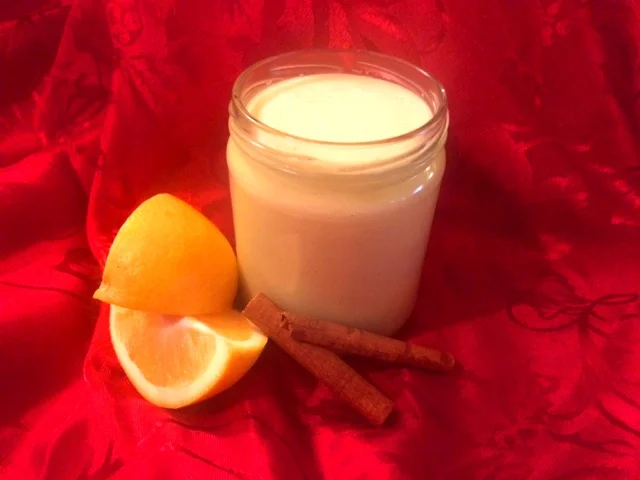
Blend ingredients and store in an airtight container in a cool, dry place. Make about 2 cups. To brew, add 1 tablespoon to 8 oz boiling water (you need your tea this hot to open up the spices). Make sure to brew this loosely in a teapot or a big strainer--you want the hot water to circulate around the spices to really get maximum flavor. Add sugar and milk if desired. I also brew this in a pot on the stove using equal parts milk and water--absolutely wonderful! Enjoy!
Enchantment Learning & Living is an inspirational blog celebrating life’s simple pleasures, everyday mysticism, and delectable recipes that are guaranteed to stir the kitchen witch in you. If you enjoyed what you just read and believe that true magic is in the everyday, subscribe to my newsletter below for regular doses of enchantment. Want even more inspiration? Follow me on Instagram, Facebook, Pinterest, and Twitter. Here’s to a magical life!